Reporting
In Testiny, you can create reports of individual automation test runs for archiving purposes.
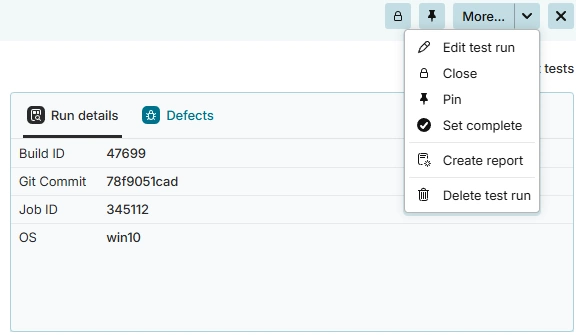
To create a PDF report of a automation test run, select the menu item "![]() Create report".
Create report".
In the settings dialogs, you can configure following options for your PDF report:

Filter
You can include "All test results" to create a full report including all results or add a filter to create a partial report.
Filter by automation test case properties such as OS, Job ID, test case folder, or test execution result.
Content
Descriptions
Check to include the automation test run description in the report header.
Additionally, you can provide an optional description to be displayed in the report header.
Shown tables
You can select which data tables to include in the report.
-
Summary of not passed tests:
Shows a list of all executed tests with a result other than passed. -
Summary of linked defects:
Shows a list of linked defects and the test results to which they are linked. This table is only available if an integration for defects is enabled for the project. -
List of all results:
Shows a list of all results. You can configure following options and select which details to include in the report:- Details only for not passed tests
Result details can be shown for all results or only for not passed results. - Test case (Description, Steps, …):
Includes automation test case contents in the report. - Comments & attachments:
Includes comments, attachments, and images added to an execution in the report. - Linked defects:
If defects are enabled and linked to the test execution, they are included in the report.
- Details only for not passed tests
Table Options
Additional columns:
Show automation fields as columns in the Summary of not passed and List of all results tables. You can select which columns to show.
Group by test cases:
Group results in the List of all results tables by automation test case.
Options
- Links are clickable:
If selected, all links (test case ID, attachments, linked requirements, and defects) are clickable in the report (useful if your goal is to create a PDF rather than a paper printout).
After clicking Create report, your browser's print dialog opens, allowing you to save the report as a .pdf file.