Migrating from TestLink to Testiny
This guide will help you migrate your test cases from TestLink to Testiny. As TestLink exports test cases only in XML format, a conversion to CSV is required before importing into Testiny.
info
If you encounter any issues during the migration process or need additional assistance, please do not hesitate to ask in the forum.
Our support team is always available to assist you.
Export Test Cases from TestLink
Begin by exporting your test cases from TestLink:
- Log in to TestLink and select the project containing the test cases you want to export.
- Access 'Test Specification'.
- Choose the test suite or individual test cases for export.
- Click 'Actions' and select 'Export'.
- Choose XML as the export format and download the file.
Convert XML to CSV
Since Testiny only supports CSV file imports, you need to convert the exported XML file to CSV:
- Use a script or tool to convert the XML file to a CSV format compatible with Testiny. There are several Python scripts available on GitHub that can facilitate this conversion.
- Ensure the converted CSV file maintains the structure and data integrity of the original XML file.
Import Test Cases into Testiny
After converting to CSV, import the test cases into Testiny:
- Log in to Testiny and navigate to the project where you want to import test cases.
- Click on 'Import' in the test cases section.
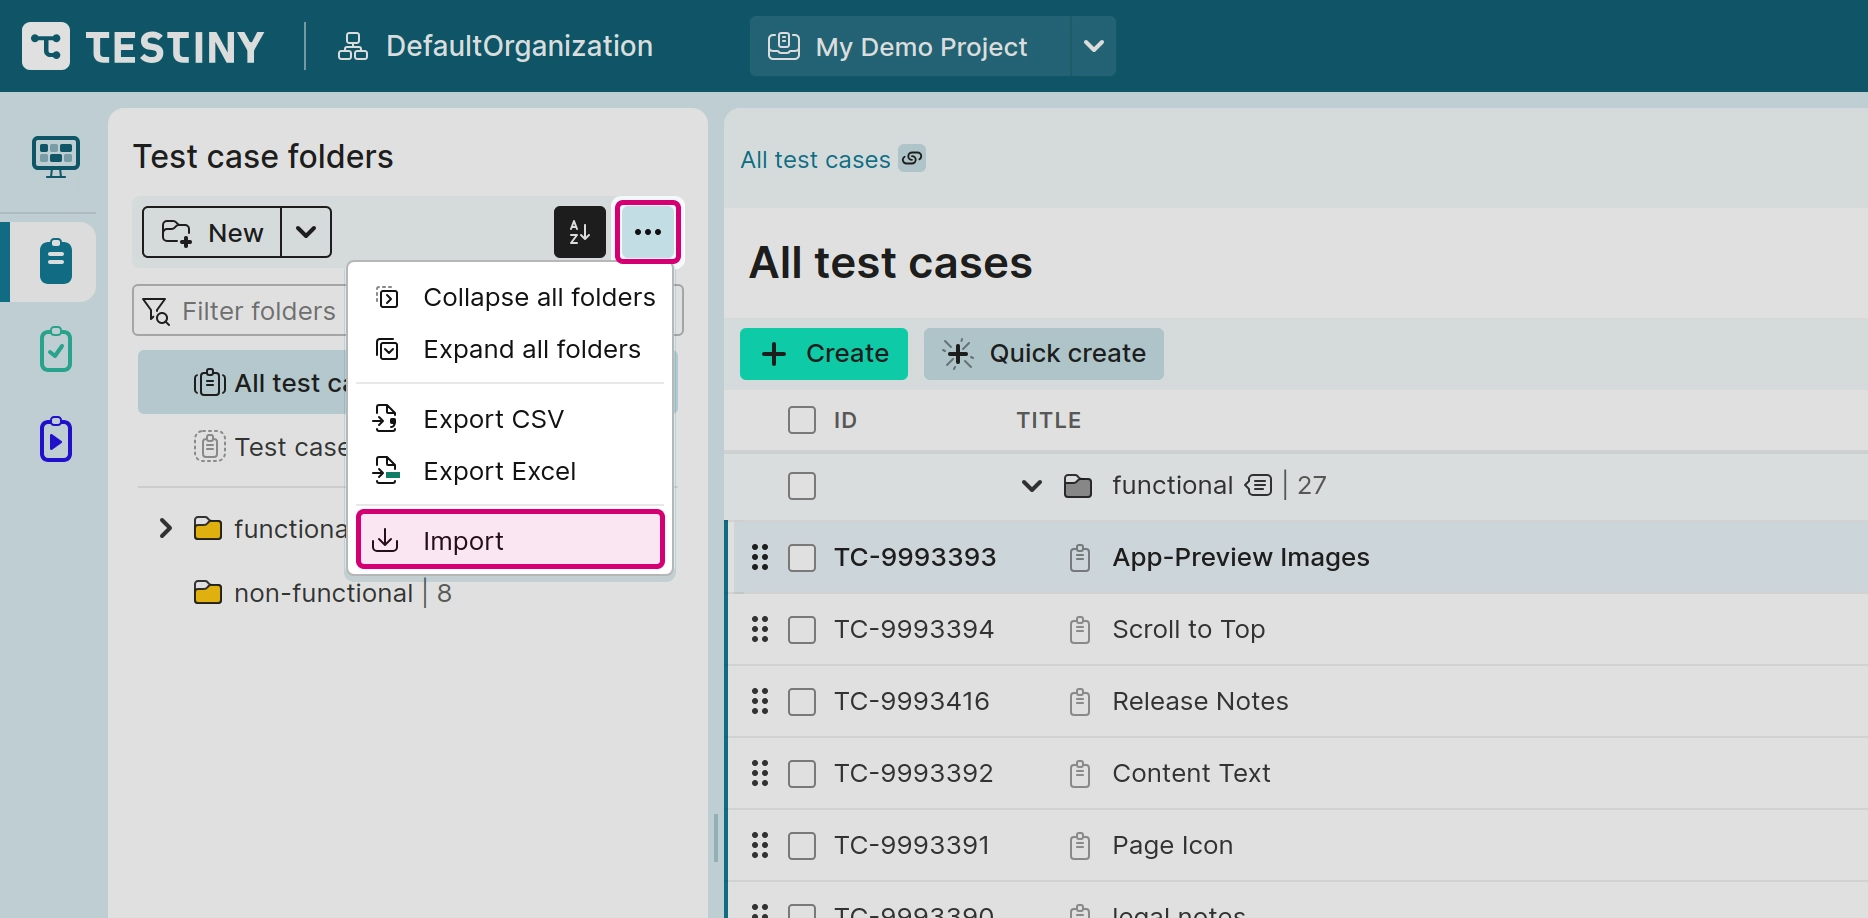
- Choose the CSV import option and upload the converted file.
- Adjust field mappings in the preview to ensure alignment with Testiny's fields.
- Correct any issues and click 'Import' to complete the process.
note
Check the CSV file's formatting and structure carefully to ensure a smooth import process.
info
For assistance during the migration or questions about the conversion process, please do not hesitate to ask in the forum.
Our support team is always available to assist you.