Migrating from Zephyr to Testiny
This guide shows how to migrate test cases from Zephy in Jira Server/DC (previously Zephyr Scale) to Testiny. We recommend using our importer that uses the Zepyhr API where you can migrate test cases including attachments, custom field values, text formatting and linked Jira requirements.
If you would like to migrate from Zephyr Essential from Jira Cloud, please don't hesitate to contact us at [email protected].
Testiny supports the migration via Zephyr API so that you can migrate your test cases with ease. Follow these steps to migrate your tests per project:
- Go to the test cases in your Testiny project and start the 'Import':
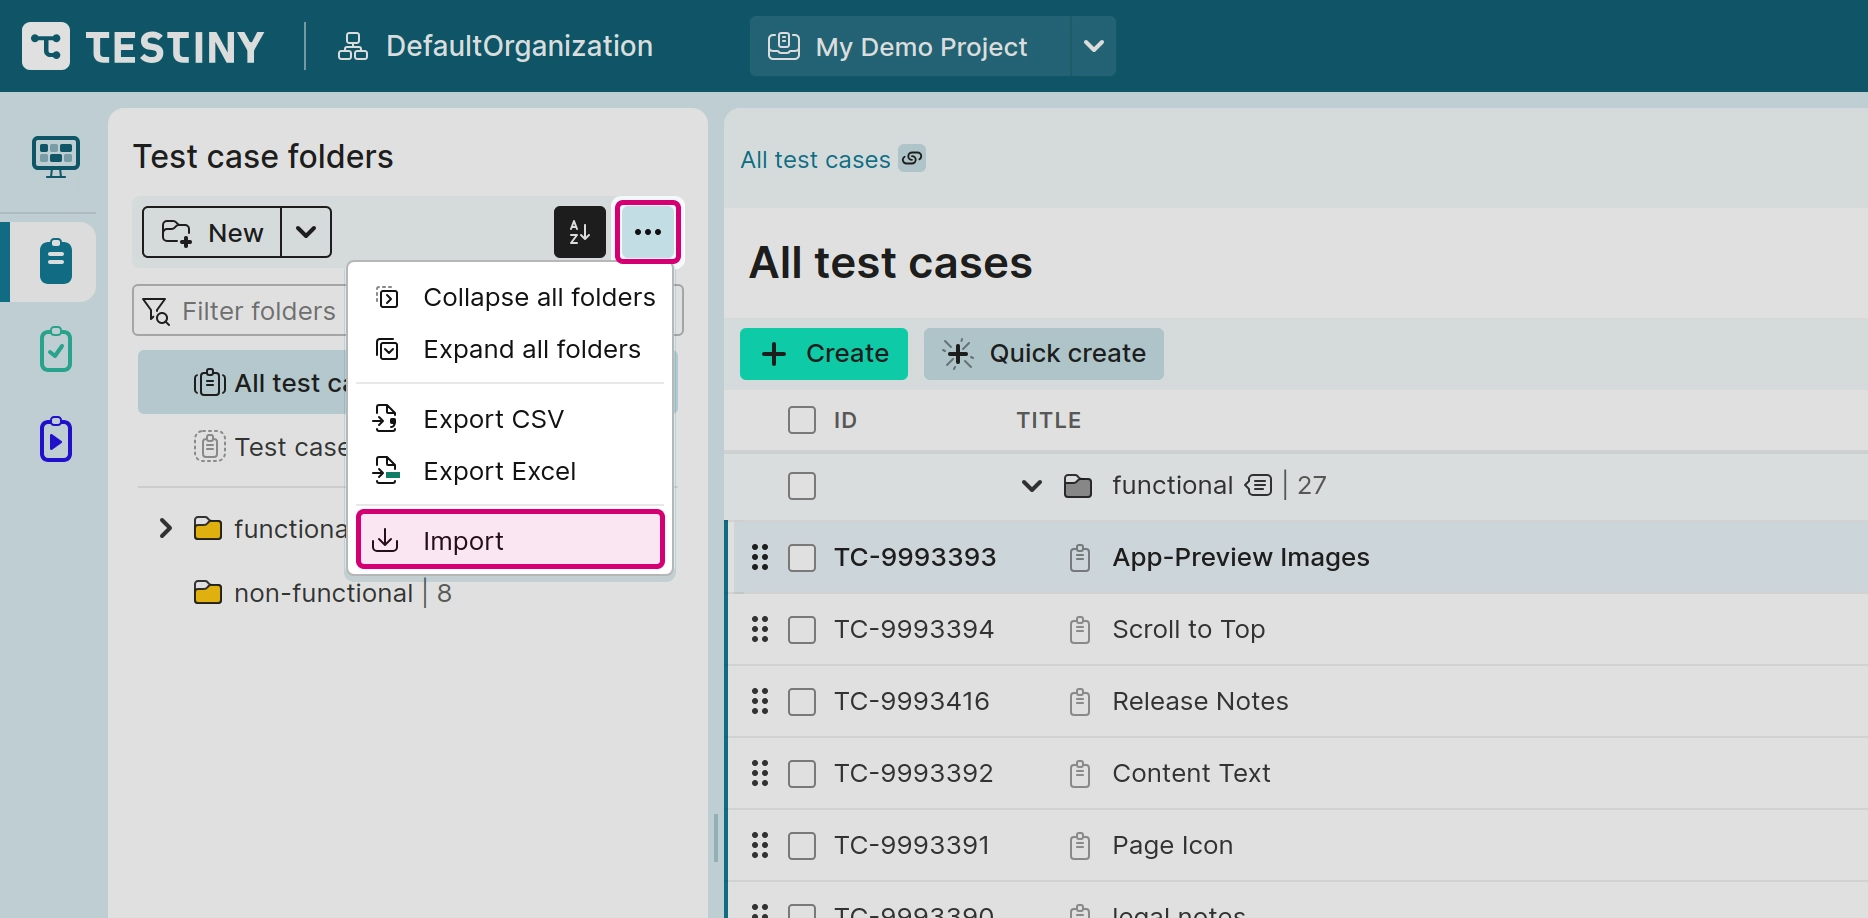
-
Choose the option
Zephyr API. -
Enter your Zephyr API credentials: provide the URL to your Jira DC/Zephyr instance and an API Key to access Zepyhr.
Then clickConnect.
Please note, that the Jira DC/Zephyr instance must be publicly reachable so that Testiny can send API requests and migrate the data.
-
You can now import your existing test cases:
- Choose from which Zephyr project you would like to import the test cases.
- If you have been using Jira to track requirements, you can also configure a Jira integration in Testiny and migrate linked requirements as well.
- If you just want to try the migration, you can also set a limit to only retrieve a small number of test cases.
-
After selecting a project, Testiny retrieves the test cases from Zephyr, automatically detects the available settings, and displays the corresponding field mapping.
Field mappings define how fields from your Zephyr test cases are aligned with fields in Testiny.
Confirm the automatic mapping (and apply any manual adjustments if needed) to get a preview of the test cases that will be imported.
You can re-adjust the field mapping anytime in the importer settings. -
Finally, if there are no errors and you're satisfied with the preview, click
Importto finalize the import and add the test cases to your project.
A summary dialog appears after the import, showing detailed statistics and any error messages. Copy the data to the clipboard (Copy all data to the clipboard) or dismiss the dialog by selecting eitherSave summary and close(this action downloads an HTML report of the import) or justClose.